
Last updated October 15, 2026
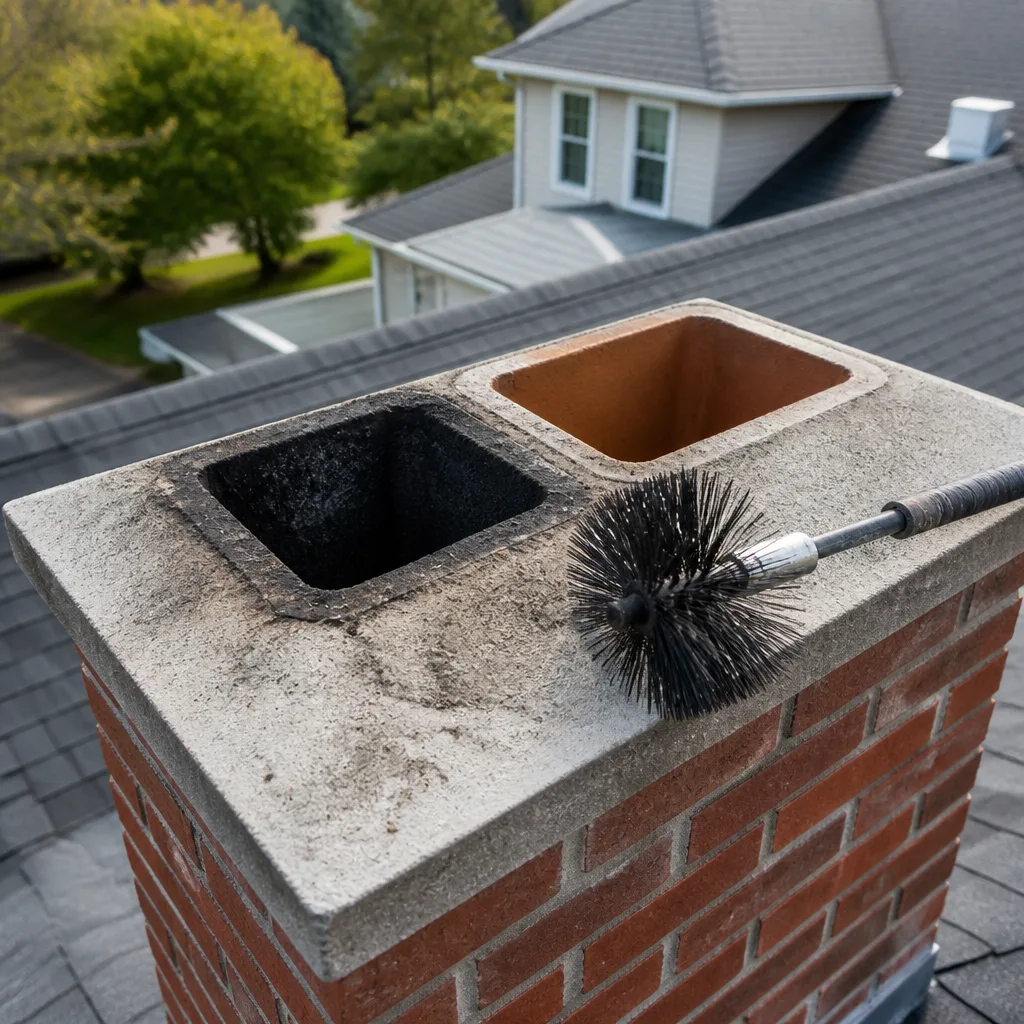 Sweep & inspection
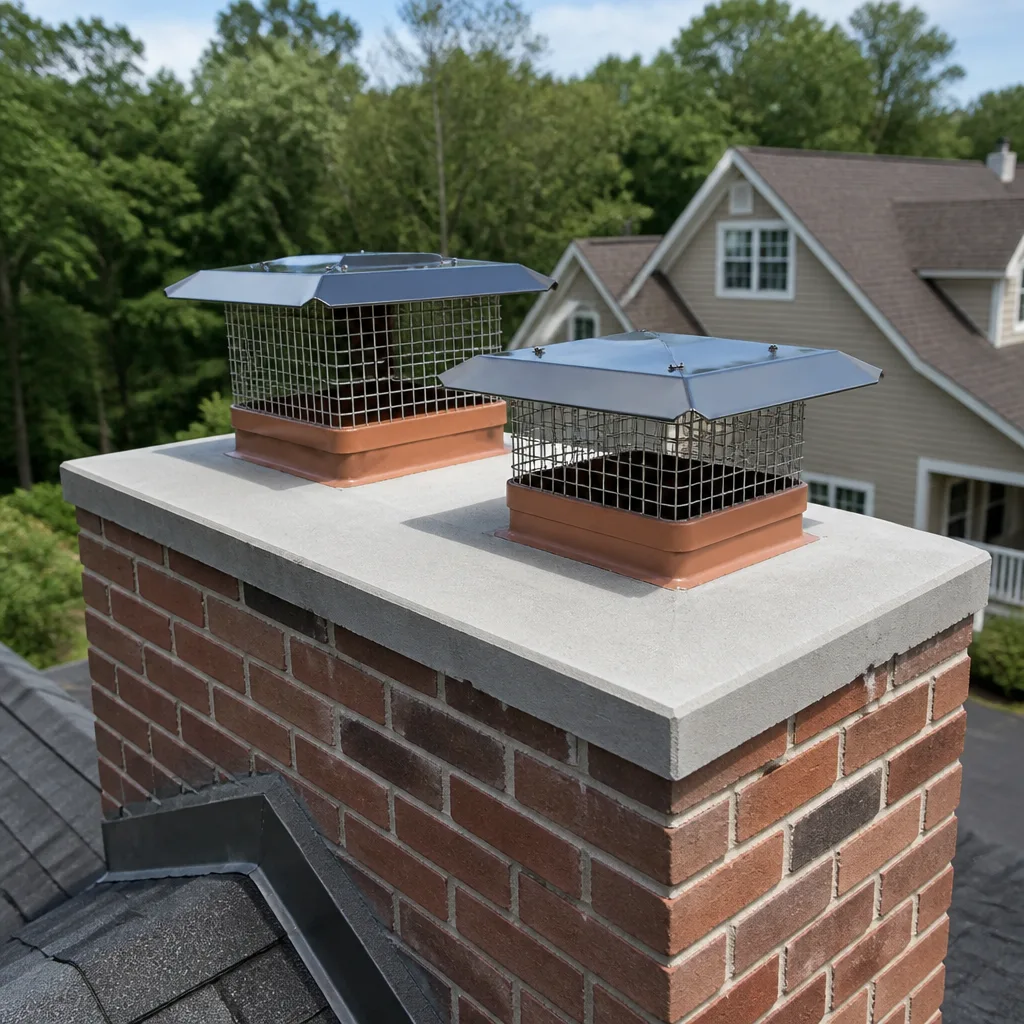 Caps & crowns
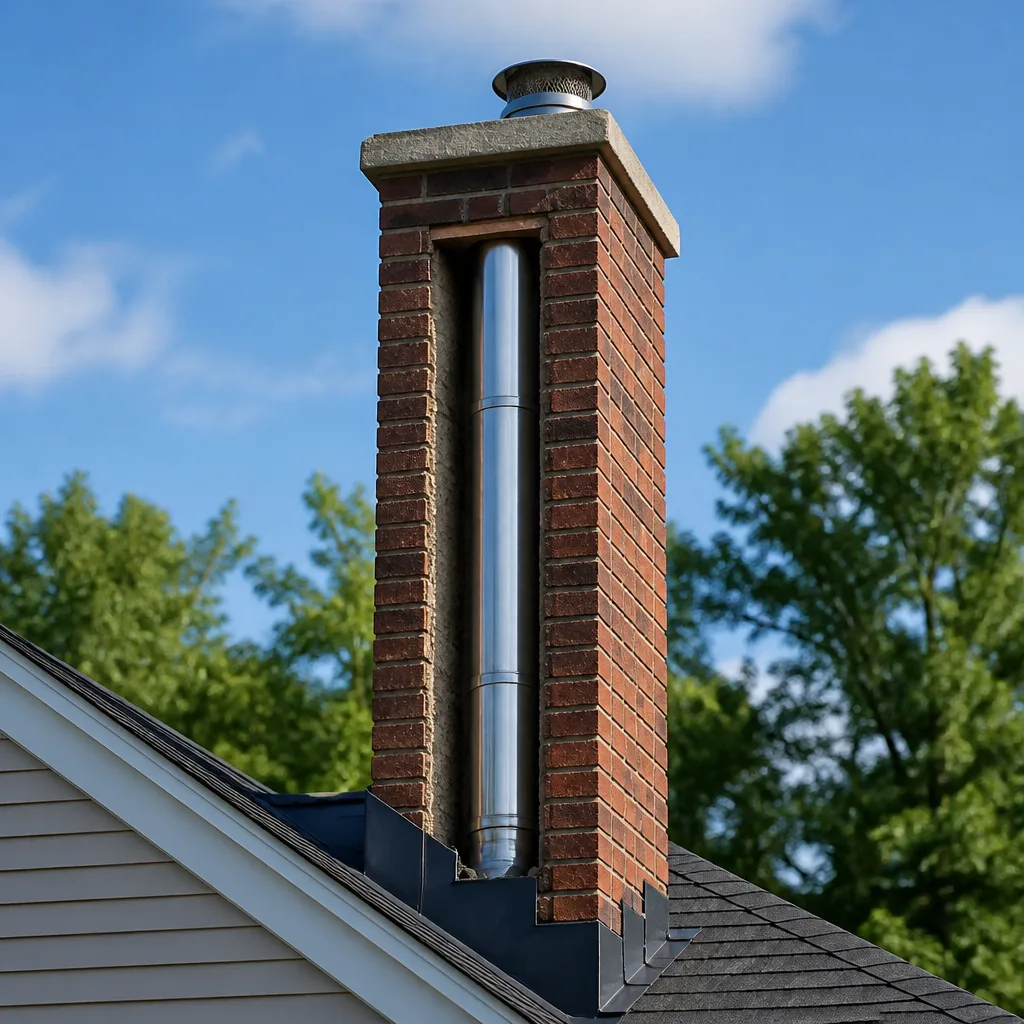 Flue relining
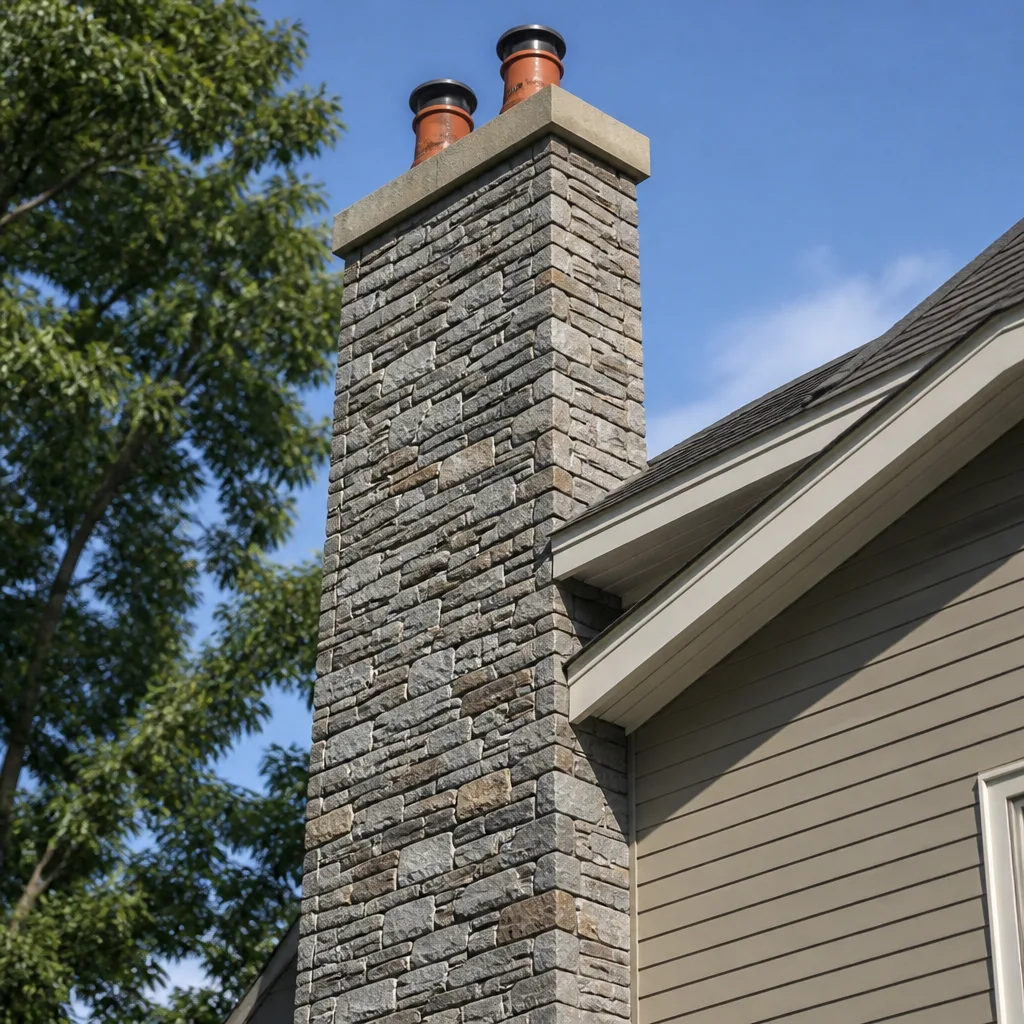 Masonry repair
 Gas fireplace service
Level 1 sweep and inspection to the NFPA 211 annual standard - flue, crown, cap, and flashing checked and photographed
Chimney sweep logs do not sweep chimneys. They loosen some creosote - which then falls where a brush and vacuum still have to collect it.
The Complete Guide to Chimney Cleaning in Austin
Here’s something most chimney guides won’t tell you: the mild Austin winters that let you skip the fireplace for months at a time are exactly what makes your chimney dirtier, faster. Short, occasional fires burn cooler than long, steady ones, and cool fires leave behind more unburned byproduct. In Austin, where we light fires maybe a dozen times a year, that byproduct sits and hardens between burns, turning from something a brush could remove into something that needs real mechanical work. This guide covers what actually builds up inside an Austin chimney, why our humidity and limestone soil matter more than most people realize, and how to verify you’re getting an honest cleaning, not just a bill. For more guides & resources on Austin home maintenance, see our blog.
Quick Answer
Chimney cleaning in Austin typically costs between $180 and $340 for a standard sweep and visual inspection, depending on chimney height, accessibility, and how much creosote has built up. Most Austin homeowners should have their chimney swept every 1 to 2 years, even if they rarely use it, because infrequent burning in humid conditions creates a harder, stickier creosote that standard brushes don’t always remove. The work should always include before-and-after photos so you can see what was actually cleaned.
Styles & brands we work with
Table of Contents
- Austin-Specific Chimney Problems You Won’t Find in National Guides
- How Often Should You Sweep a Chimney in Austin?
- Creosote Stages: Why Austin’s Short Fires Build the Worst Kind
- How Much Does a Chimney Sweep Cost in Austin?
- Level 1 vs. Level 2 Inspections: What Actually Happens
- How to Read a Before-and-After Chimney Photo
- Limestone Soil and Austin Masonry: What It Means for Your Chimney
- What a Proper Chimney Sweep Looks Like, Step by Step
Austin-Specific Chimney Problems You Won’t Find in National Guides
Most chimney content online is written for places with real winters – Chicago, Boston, Minneapolis. Those guides assume you’re burning fires every week from October through March. Austin is different in three ways that change how your chimney behaves.
First, our winters are short and intermittent. You might light a fire on a cold snap in December, then not again until February. Each of those fires is a cold-start burn: the flue takes longer to heat fully, combustion is incomplete, and creosote – the flammable tar residue from wood smoke – deposits unevenly along the flue walls. Then it sits. In dry climates, creosote can partially flake off on its own. In Austin’s humidity, it absorbs moisture and thickens. We regularly see Stage 2 creosote (a hardened, tar-like glaze) in chimneys that have only seen a handful of fires since the last cleaning. That surprises people, but it’s consistent with what Chimney Sweep in Austin work actually involves here: less about volume of soot, more about removing hardened deposits that a standard wire brush alone won’t budge.
Second, Austin sits on limestone. The Edwards Plateau runs right up to the city, and our soil is alkaline, rocky, and full of calcium carbonate. That affects chimneys in two ways. Older masonry chimneys in neighborhoods like Hyde Park, Travis Heights, and Bouldin Creek were often built with lime-and-sand mortar rather than modern Portland cement. Limestone-rich soil drainage around the foundation causes subtle shifting over decades, and that shifting shows up first in the mortar joints of a chimney – the vertical structure doesn’t flex the way the rest of the house does. Hairline cracks in the mortar let rain in, and in Austin, rain comes in bursts.
Third, the humidity corridor around Barton Creek, Lady Bird Lake, and the Colorado River means chimneys in places like Tarrytown, Zilker, and South Lamar see more moisture than chimneys even five miles east. That moisture works its way into any crack in the crown or flashing. When the chimney gets hot during a fire, that trapped water expands as steam, putting pressure on the flue liner from the inside. Over time – sometimes in as little as three or four seasons – this creates spalling: the flaky deterioration of brick or clay tile that homeowners mistake for normal aging. It isn’t. It’s water doing slow, constant damage between fires.
How Often Should You Sweep a Chimney in Austin?
The short answer: every one to two years, regardless of how often you burn. The national advice is usually “after every cord of wood” or “once per burning season.” Austin doesn’t have a burning season in the traditional sense, so that metric doesn’t map cleanly. What matters more here is what kind of creosote has formed and whether moisture has gotten into the system.
The National Fire Protection Association (NFPA 211) says chimneys should be swept when there is 1/8 inch or more of soot or creosote buildup anywhere in the system. That standard applies in Austin just as much as anywhere else. The difference is that Austin’s infrequent, low-temperature burns tend to produce a thin but very sticky layer of creosote that reaches that threshold quickly and then hardens. You can’t just brush it off.
A practical rule for Austin homeowners:
- If you burn more than 20 fires a year (rare but happens in colder homes in the hill country): sweep annually.
- If you burn 5 to 20 fires a year (the typical Austin pattern): sweep every 1 to 2 years.
- If you burn fewer than 5 fires a year: still sweep every 2 years. Critters, humidity, and dust build up even without fires. We find bird nests, squirrel debris, and wasp activity in unused Austin chimneys all the time.
- If you just moved into the home: sweep before your first fire. You have no idea when the previous owner last cleaned it, and Austin’s home turnover in neighborhoods like Mueller and East Austin means many fireplaces have sat dormant for years.
One more Austin-specific factor: cedar pollen. From December through February, cedar season coats outdoor surfaces in a fine yellow dust. Open the damper without a chimney cap, and that pollen collects inside the flue. It’s not a fire hazard on its own, but it combines with humidity to create a gummy film that creosote clings to. A chimney cap with small mesh openings makes a real difference here. If you don’t have one, the sweep should mention it.
Creosote Stages: Why Austin’s Short Fires Build the Worst Kind
Creosote isn’t a single substance. It forms in three stages, and the stage you have determines what kind of cleaning is needed. This is where Austin’s climate produces a specific problem.
Stage 1: Flaky soot. This is the soft, dusty, dark-brown deposit that brushes off with a standard chimney brush. It forms when fires burn hot and the flue temperature stays high enough to push most byproducts out before they condense. In Austin, you’ll see Stage 1 creosote in chimneys that are used regularly during cold fronts, with seasoned hardwood like post oak or mesquite. A standard sweep handles this easily.
Stage 2: Glazed or tarry creosote. This is where Austin’s problem shows up. Stage 2 looks like black, shiny tar baked onto the flue walls. It forms when fires burn at lower temperatures, and the unburned gases cool and condense before exiting. Austin’s pattern – a fire lit on a 45-degree night, burning for two hours, then going cold for three weeks – is textbook Stage 2 conditions. The creosote melts slightly during each short fire, then hardens even denser when the flue cools. Standard wire brushes skip right over it. Removing Stage 2 typically requires rotary cleaning heads with metal whip lines, or in some cases chemical treatments that are followed by mechanical removal. This is the most common condition we find in Austin chimneys that have gone two or more years between sweepings.
Stage 3: Hardened, glass-like creosote. Stage 3 is compressed Stage 2 that has baked on through repeated heat cycles. It can look like black lacquer. At this stage, creosote has a high fuel density. If it ignites, it burns very hot. Stage 3 removal is the most involved: it often requires a chemical treatment – something like a creosote modifier applied and left to soak – followed by an aggressive rotary sweep, and sometimes a second visit. In some cases, Stage 3 creosote has already damaged the flue liner and needs repair before the chimney is safe to use. That’s where products like HeatShield come into play: a ceramic-based repair compound that can restore the interior surface of a damaged clay tile liner without a full liner replacement.
The takeaway: Austin’s burn pattern is especially good at producing Stage 2 creosote, which is the most annoying kind. It clings, it hardens, and it doesn’t respond to a simple brush. Regular sweeping prevents Stage 2 from becoming Stage 3.
How Much Does a Chimney Sweep Cost in Austin?
In Austin, a standard chimney sweep and Level 1 inspection typically falls between $180 and $340. That’s the range for a single-flue masonry chimney with a straight run and normal creosote buildup. The price reflects time, equipment, and what the tech actually does while on site.
Here’s a realistic breakdown of what to expect:
- Standard sweep, single flue: $180 to $280. Includes sweeping the full flue length, cleaning the firebox, checking the damper, and a visual inspection of accessible components.
- Sweep with Stage 2 creosote removal: $250 to $400. Requires rotary tooling and more time. If the creosote is glazed on, a chemical pretreatment may be recommended, which adds material cost.
- Sweep plus Level 2 inspection: $350 to $600. A Level 2 inspection uses a camera to document the interior of the flue liner top to bottom. It’s recommended when you’ve bought a home, when you suspect damage, or when the chimney hasn’t been used in years.
- Chimney cap installation: $150 to $450 installed, depending on the cap type and roof access. This is often recommended in Austin because of cedar pollen, rain, and wildlife. Raccoons, squirrels, and chimney swifts (a protected species in Texas, so you can’t just remove them) all find open flues attractive.
- Crown repair or resealing: $400 to $1,200. The concrete crown at the top of the chimney is the first thing to fail in Austin’s wet-dry cycles, and a cracked crown is the most common source of water damage we see.
If the sweep includes repairs – a new damper, a liner patch, a crown seal – the total will be higher, but the component costs should be itemized on the written price before any work begins. A legitimate Austin chimney company shows you the numbers first. You shouldn’t be finding out about a $900 liner repair while the tech is still on your roof.
The Chimney Repair in Austin market includes a lot of companies, which means pricing is competitive. The cheaper end of the range usually means a basic brush sweep with no rotary tooling and no camera work. The more thorough jobs cost more because they use better equipment and take longer. Both have a place. What matters is knowing which one you’re getting.
Level 1 vs. Level 2 Inspections: What Actually Happens
The Chimney Safety Institute of America (CSIA) defines three levels of chimney inspection. Most homeowners have heard the terms but don’t know what they correspond to in practice. Here’s what each one looks like on the ground in Austin.
Level 1: The visual check. This is the standard inspection included with a routine sweep. The tech visually examines the accessible portions of the chimney – the flue from the firebox looking up, the damper, the firebox itself, and the exterior from the roof or the ground. No ladders beyond roof access, no cameras. A Level 1 confirms basic function and identifies obvious problems: heavy creosote, animal debris, a missing chimney cap, or a damper that doesn’t operate. If you haven’t changed anything about how you use the chimney, and you’ve had it swept regularly, Level 1 is usually the right call.
Level 2: The camera inspection. A Level 2 includes everything in Level 1 plus a video scan of the entire flue liner interior. The tech runs a small camera up the flue on a cable, documenting the condition of the clay tiles or metal liner from firebox to crown. This is the only way to see cracks, gaps, or deterioration that aren’t visible from the top or bottom. The CSIA recommends a Level 2 inspection whenever: you buy a new home, you sell a home, there’s been a chimney fire, an earthquake or major storm event, or you’re making changes to the system (replacing the firebox, switching fuel type, adding a liner). In Austin, home sales are frequent and older homes change hands constantly in neighborhoods like Allandale and Crestview. If a Level 2 hasn’t been done on a chimney you just bought, you’re assuming risk you don’t need to assume.
Level 3: The invasive inspection. This is reserved for cases where a Level 2 camera scan reveals something that can’t be diagnosed without opening up the structure. It involves removing portions of the chimney or surrounding building materials. Level 3 inspections are rare – they’re typically done after a chimney fire or significant structural event. Most Austin homeowners will never need one.
The distinction matters because “inspection included” means different things from different companies. A Level 1 is a glance. A Level 2 is evidence. If a repair recommendation comes from a Level 1 only, you can reasonably ask for camera documentation before spending thousands. That’s exactly the kind of verification the Hadley Chimney Austin home approach is built around: every inspection produces photos or video, and every repair recommendation comes with visual proof you can see yourself.
How to Read a Before-and-After Chimney Photo
Before-and-after photos are the single most underused tool homeowners have to verify chimney work actually happened. But a photo only helps if you know what to look at. Here’s how to read one like a pro.
Look at the flue walls, not the firebox floor. A sweep who only cleaned the firebox will leave the flue walls black. The flue interior is where creosote actually accumulates, and it’s the surface that needs to change from dark brown or black to the natural color of the clay tile or metal liner. Firebox photos are easy to take but prove very little.
Check for consistent color from top to bottom. The camera should show the flue all the way up. If the bottom looks clean but the upper third still shows heavy deposit, the sweep didn’t finish the job. In Austin’s taller chimneys – two-story homes in Tarrytown or rolling terrain where the roof pitch complicates access – the top section is the hardest to reach and the most commonly skipped.
Look at the damper area. The damper and the smoke shelf directly above it are creosote collection points. A thorough sweep will show these areas clearly in the after-photo, not just the flue walls.
Compare the crack pattern. If the before-photo shows a visible crack in a flue tile, the after-photo should either show that crack resolved (because a repair was part of the job) or explicitly acknowledge that it remains and was documented for a separate recommendation. A before-and-after where the “after” conveniently doesn’t show the damaged section from the “before” is not verification.
Ask about the camera angle. Flue cameras use a forward-facing lens, which means the image you see is whatever is directly ahead. A tech who stops the camera at 4 feet and calls it a full inspection isn’t showing you the full flue. The Level 2 scan should be continuous from firebox to crown, and the timestamped stills should reflect that range.
Hadley Chimney Austin documents every job with before-and-after photos as a standing practice, and the Relay Visibility Guarantee puts that in writing: you see the condition before, you see the result after, and you get a digital record of both. When you’re comparing chimney companies, ask any of them whether photos are included as part of the standard work. The answer tells you a lot about how they operate.
Limestone Soil and Austin Masonry: What It Means for Your Chimney
Austin’s geology isn’t something most chimney guides talk about, but it should be. The city sits on the Edwards Plateau, a limestone shelf that extends from west of town through the Balcones Escarpment. Our soil is thin, rocky, alkaline, and holds water differently than the deep clay soils of Houston or Dallas. For chimneys in older Austin neighborhoods, that’s a meaningful variable.
Homes built in Hyde Park before 1950, or in Bouldin Creek and Travis Heights in the 1920s through 1940s, often have masonry chimneys built with lime mortar. Lime mortar is softer and more flexible than modern Portland cement. In some ways that’s good: it allows small movements without cracking. But lime mortar also absorbs moisture, and over decades in Austin’s wet-dry cycle, it deteriorates. The mortar joints erode from the top down, leaving gaps where rain enters.
Here’s the sequence we see repeatedly in older Austin chimneys:
- The crown develops hairline cracks from years of thermal expansion and contraction (Austin’s hot afternoons followed by cool nights accelerate this).
- Rainwater seeps through the crown cracks and into the masonry below.
- The lime mortar in the upper joints absorbs the water, softens, and begins to wash out.
- Bricks loosen, spalling begins, and the chimney starts leaning slightly or showing visible cracking at the roofline.
- The water travels down to the flue liner, where it causes clay tile deterioration from the inside.
The Austin-specific issue is the speed of the cycle. We get approximately 33 inches of rain a year, but it arrives in concentrated bursts – spring thunderstorms, fall fronts. A chimney that sits dry for six weeks and then gets hit with a three-inch storm is cycling through saturation and complete drying in a way that stresses masonry. Chimneys in constant-humidity climates have different problems, but they don’t experience the same expansion-contraction fatigue.
For homeowners in older Austin neighborhoods, this means chimney maintenance shouldn’t be limited to sweeping. The exterior masonry needs attention too: crown sealing, mortar repointing, and flashing inspection. Modern repair materials make this more manageable than it used to be. Olympia Chimney and Famco both manufacture crown sealants and flashing systems designed for exactly these conditions, and they’re the kind of materials we specify for repairs on Austin’s older masonry chimneys because they hold up to our specific weather pattern better than generic hardware-store alternatives.
What a Proper Chimney Sweep Looks Like, Step by Step
If you’ve never watched a chimney sweep work, the process can seem mysterious. It shouldn’t be. Here’s what a legitimate, thorough sweep in Austin involves, in order:
- Interior protection. The tech lays down drop cloths in front of the firebox and sometimes plastic sheeting around the hearth area. Dust containment is part of the job. A sweep that leaves your living room coated in soot skipped a step.
- Initial visual inspection. Before touching anything, the tech looks: at the firebox, the damper, the flue from below, and the chimney exterior from the roof or ground. They’re looking for water damage, animal activity, and creosote condition. This determines what tools they’ll need.
- Setup. The sweep runs a vacuum system – usually a HEPA-rated unit designed for fine particulate. Some systems run from inside, with a hose extension at the flue opening; others position the vacuum on the roof. Both are valid. The vacuum runs continuously during the sweeping process.
- Mechanical sweeping. A brush sized to the flue – for most Austin chimneys, that’s a 13×13 or 13×17 clay tile liner – is run through the flue from either the top or bottom. If the creosote is Stage 1, the brush handles it. If it’s Stage 2, the tech switches to a rotary head with metal whip lines that spin at high speed and flake the glazed creosote off the walls. This is the step that separates a real sweep from a brush-and-go.
- Firebox and damper cleaning. The accumulated debris is cleaned out of the firebox, and the damper is checked for operation. In Austin, where dampers sit closed for most of the year, rust and seizure are common. The tech should open and close the damper several times and note any stiffness.
- Final inspection and photos. The sweep does a visual confirmation that the flue is clean, then takes the documentation photos. This is also when they check for any damage that the creosote was hiding – cracks in the flue tiles, deteriorated mortar, damaged flashing.
- Walkthrough and recommendation. The tech shows you the photos, explains what they found, and provides a written price for any additional work if they’re recommending it. You should leave this conversation knowing exactly what was done, what condition the chimney is in, and whether anything needs attention before the next fire.
The entire process for a standard single-flue chimney takes 45 to 90 minutes. If someone finishes in 20 minutes and doesn’t show you photos, they didn’t do a full sweep. That’s true anywhere, but it’s especially relevant in Austin, where the creosote is often Stage 2 and needs rotary work. A brush that goes up and down twice doesn’t touch Stage 2 glaze.
Common Mistakes to Avoid
- Assuming low usage means no maintenance. This is the most common Austin-specific mistake. Burning only a few times a year doesn’t keep a chimney clean. It creates a different, stickier creosote problem. Unused chimneys also collect pollen, dust, insects, and occasionally animals.
- Hiring based on price alone. A $99 sweep special sounds great until you learn the tech only brushed the flue, didn’t clean the firebox, and didn’t inspect the crown. In Austin’s competitive market, unusually low prices usually mean a reduced scope of work. Ask what’s included.
- Skipping the chimney cap. Austin’s wildlife – chimney swifts, squirrels, raccoons – will find an open flue. Cedar pollen will collect in it. Rain will enter it. A chimney cap costs a few hundred dollars and prevents most of this.
- Burning green or wet wood. Austin doesn’t have the same wood-burning culture as colder regions, and a lot of what people burn is whatever fell in the yard. Green wood produces dramatically more creosote than seasoned hardwood. If you burn, use wood that’s been split and dried for at least six months, and store it off the ground.
- Ignoring early signs of water damage. A dark stain on the ceiling near the chimney, a musty smell from the firebox after rain, or crumbling mortar on the exterior are all early indicators. In Austin’s wet-dry cycles, these escalate quickly. Early crown sealing or flashing repair is far cheaper than a full rebuild later.
- Not asking for photo documentation. If a chimney company can’t show you what they found and what they fixed, you’re taking their word on trust. The technology exists to document every job, and any company doing modern work uses it. If they push back on photos, that’s a red flag.
See the difference
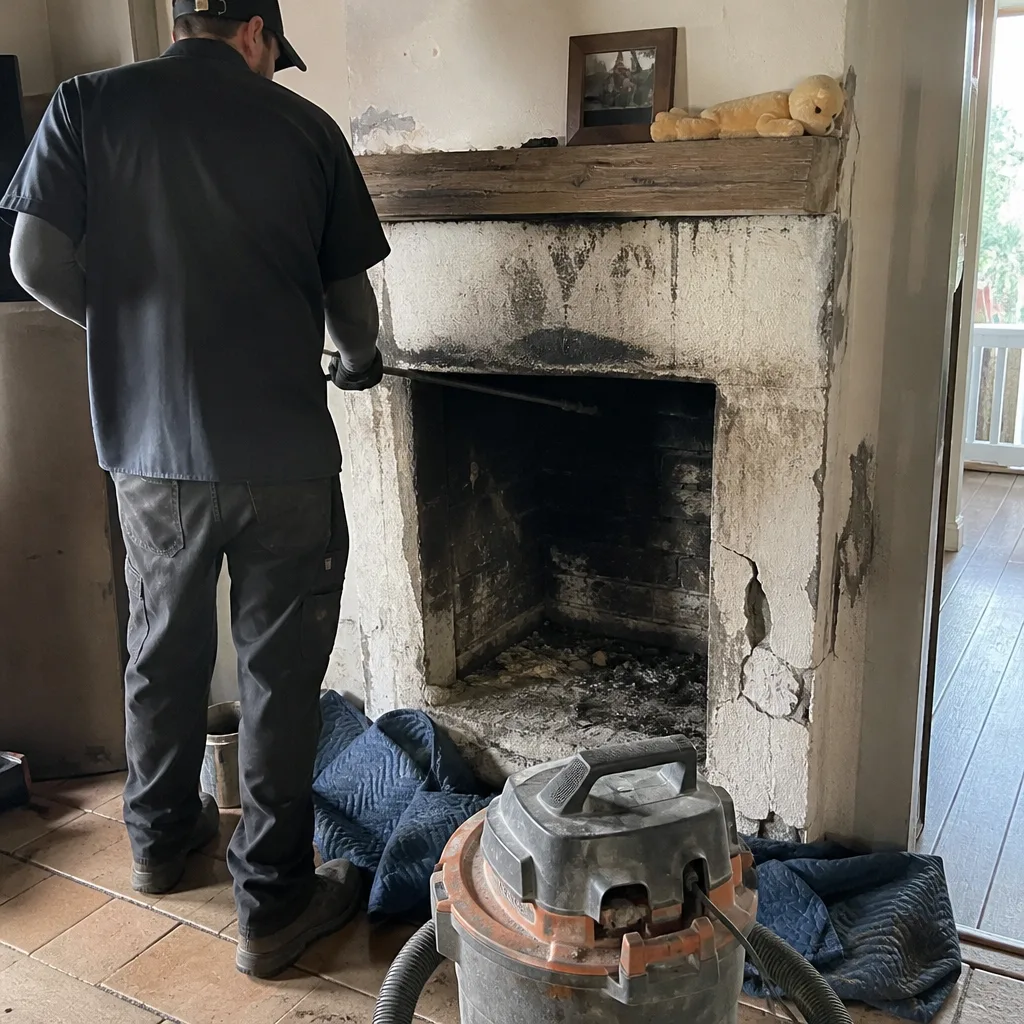 Before
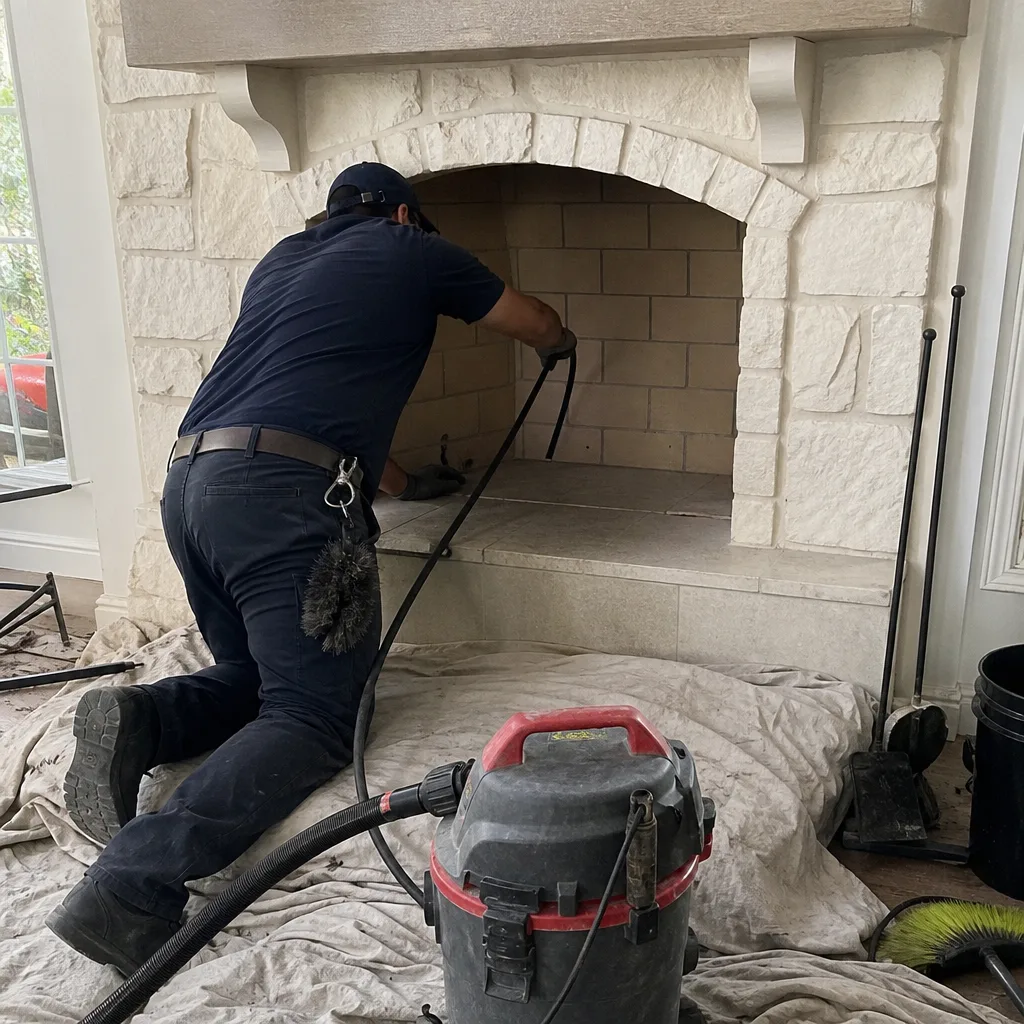 After
After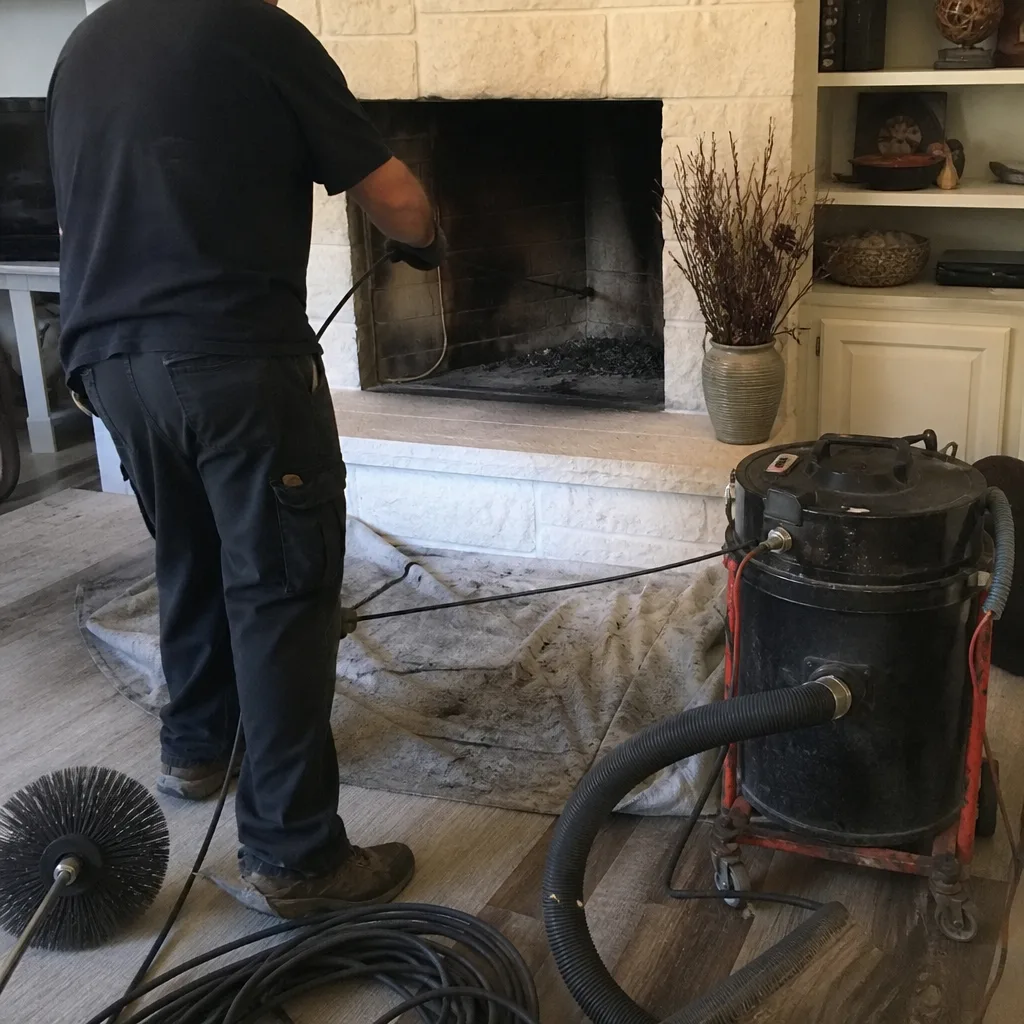 Before
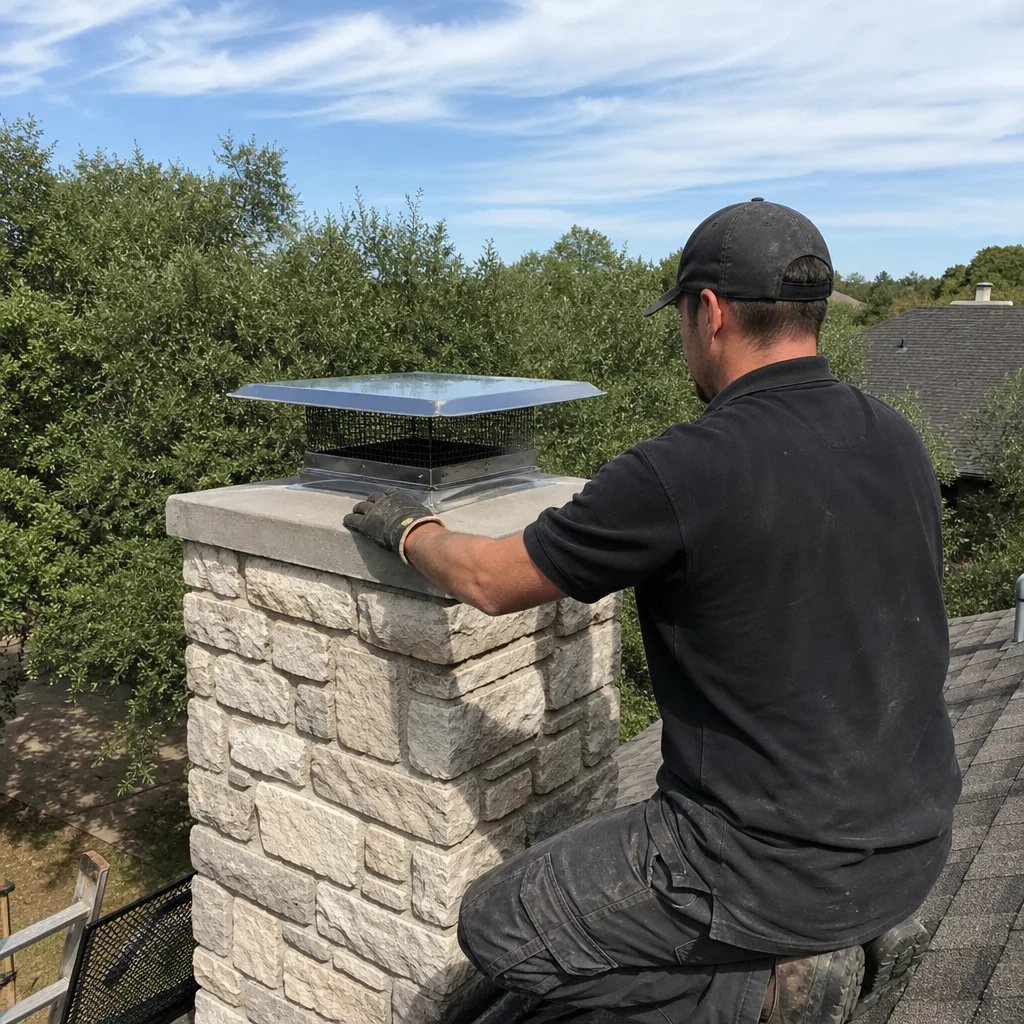 After
After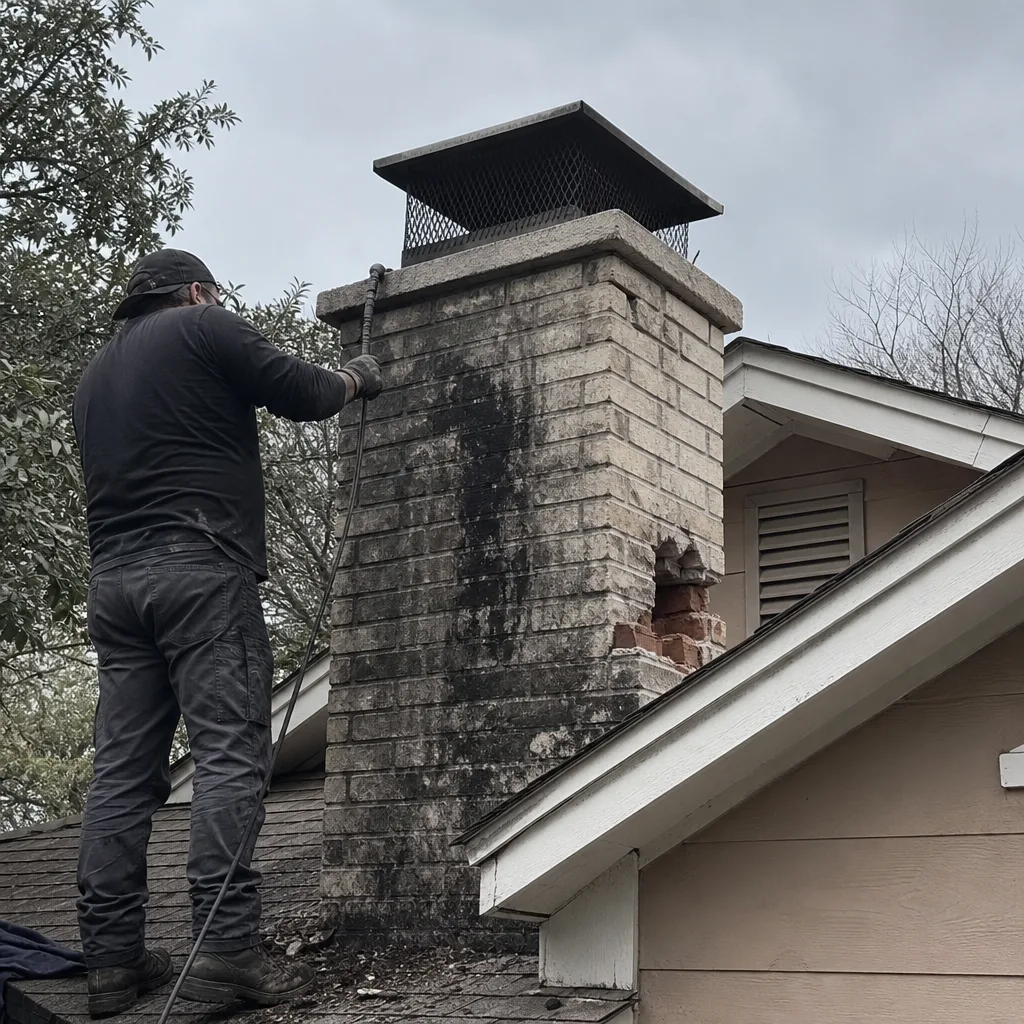 Before
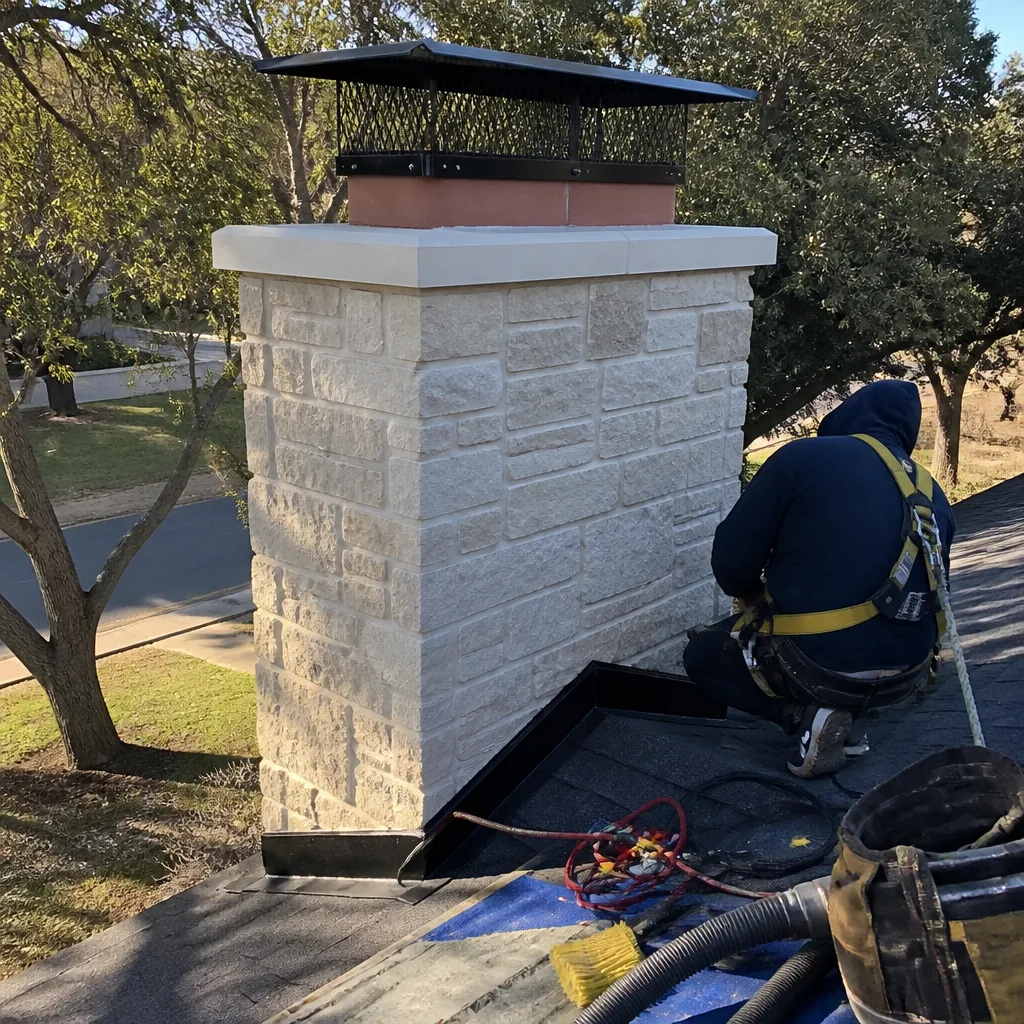 After
AfterWhen to Call a Professional
Some things you can check yourself: a visual glance at the chimney exterior for obvious cracks, a quick test of the damper, a sniff for musty odor from the firebox after a rain. But the moment you suspect a problem – heavy creosote, water intrusion, an animal inside, or simply a chimney that hasn’t been touched in three or more years – call a professional. Chimney sweeping is not a DIY project. The tools are specialized, the dust is harmful to breathe, and the risks of working on a roof or from a ladder are real. In Austin, where Stage 2 creosote is common and limestone-shifting affects older masonry, professional eyes and camera equipment make the difference between a chimney that works safely and one that doesn’t. Hadley Chimney Austin offers free estimates in Austin – call (361) 603-5116 and we’ll talk through what you’re seeing.
Frequently Asked Questions
A standard chimney sweep in Austin typically costs between $180 and $340 for a single-flue masonry chimney with normal buildup. If the creosote has hardened into Stage 2 glaze, expect to pay $250 to $400 because rotary cleaning tools and additional time are required. If you need a Level 2 camera inspection added, the total is usually $350 to $600. Call (361) 603-5116 for an exact quote based on your chimney – the estimate is free, and we put the price in writing before any work begins.
Every 1 to 2 years, regardless of how much you use the fireplace. Austin’s short, infrequent fires create a sticky creosote that hardens between burns, so even chimneys used only a handful of times per year can reach the 1/8-inch threshold NFPA 211 sets for cleaning. If you’ve just moved into the home, sweep before your first fire. Call (361) 603-5116 and we’ll help you figure out the right schedule for your fireplace.
Not always. A cracked clay tile liner can sometimes be repaired with a ceramic resurfacing compound like HeatShield, which coats the interior and restores the liner without a full replacement. A stainless steel liner is the right call in some cases – severe damage, recurring water intrusion, or a fuel conversion. What matters is that the recommendation comes with camera evidence you can see. If a company says you need a new liner without showing you the inside of the flue, get a second opinion. Call (361) 603-5116 and we’ll show you exactly what’s going on.
Two things, primarily. First, creosote accumulation increases the risk of a chimney fire – a fire inside the flue itself that can reach 2,000 degrees F and crack the liner, allowing flames to reach the house structure. Second, in Austin’s humid climate, especially near the lake corridor, water finds its way into any crack or gap, and a dirty, neglected chimney hides those entry points. You’ll discover the problem after the damage is done. Call (361) 603-5116 to schedule a sweep before it gets to that point – the cost of cleaning is a fraction of the cost of repair.
Yes. Gas fireplaces produce different combustion byproducts, and while they don’t create creosote, they can still accumulate soot, dust, and in some cases mineral deposits from gas combustion. Ventless gas systems have their own maintenance needs. The venting and liner requirements are also different. Hadley Chimney Austin handles Gas Fireplace Repair in Austin with the same documentation and written-pricing standards we bring to every wood-burning chimney job. Call (361) 603-5116 if you’re not sure what type of system you have or what it needs.
Look for three things: written pricing before work starts, photo documentation of the work itself, and a written guarantee on any repairs. In Austin’s competitive chimney market, companies that don’t offer these are operating on an old model of vague quotes and trust-me assurances. Hadley Chimney Austin provides all three on every single job, and our 365-Day Done Right Promise means if a repair fails, the second visit is on us. Call (361) 603-5116 to book.
The Bottom Line
Austin’s chimney maintenance reality is different from what national guides assume. Short, infrequent fires in humid conditions build a hardened creosote that’s harder to remove than the fluffy soot of cold-climate chimneys. Limestone soil and burst-pattern rainfall stress older masonry in neighborhoods like Hyde Park and Bouldin Creek. Cedar pollen, wildlife, and seasonally dormant fireplaces all add layers. The solution isn’t more sweeping – it’s the right kind of sweeping, done on a schedule that reflects how you actually use the fireplace, with documentation that proves the work happened. Get a sweep, look at the photos, and make decisions based on evidence. That’s what we do at Hadley Chimney Austin, and it’s what your chimney deserves.
Written by Cory Mitchell, Owner at Hadley Chimney Austin, serving Austin since 2003.